RV Sealant

Hey there fellow RV owners!

Maintaining your RV is crucial in ensuring its longevity and making sure you get the most out of your investment. One important aspect of RV maintenance is making sure that your seals and seams are watertight. That's where RV sealant comes in.

If you're like most RV owners, you might be wondering what RV sealant is and how to apply it properly. Don't worry, we've got you covered! In this article, we'll answer common questions and address common pain points related to RV sealant. We'll also provide you with a step-by-step guide on how to apply RV sealant, as well as reviews and comparisons of different products on the market.

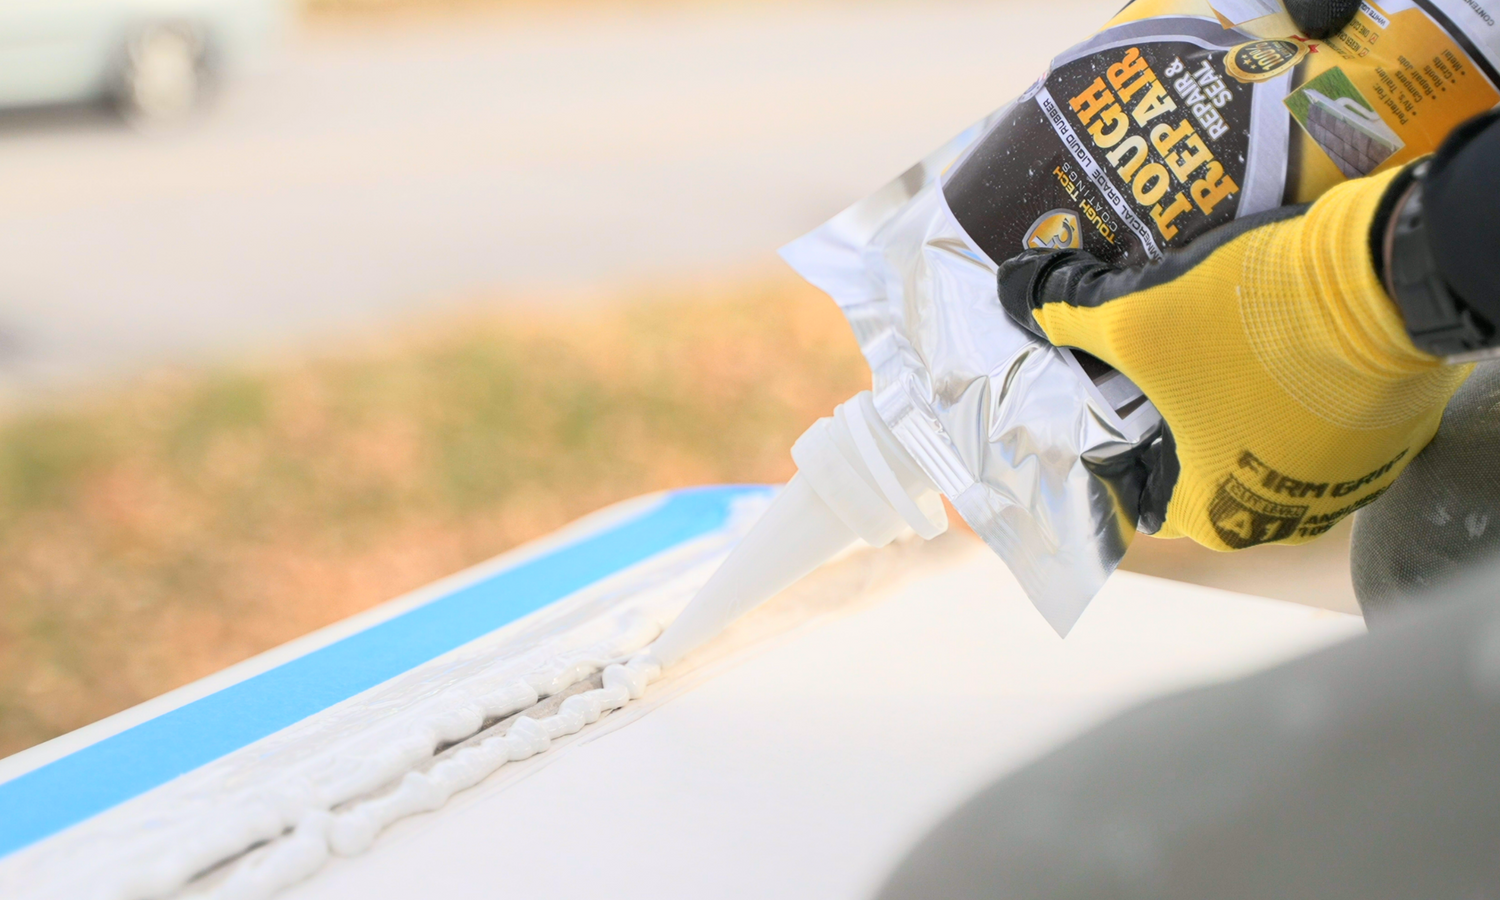
When it comes to RV sealant, one product that stands out is Tough Tech Coating RV Sealant Pouch. This product is designed specifically for RVs and is incredibly easy to use. It's the best option on the market, and we'll tell you why.

So, whether you're a seasoned RV owner or a newbie, read on to learn everything you need to know about RV sealant and how to keep your RV in top shape.

here's a step-by-step guide on how to apply RV sealant to your RV roof:

Step 1: Get your RV roof clean

The first thing you'll want to do is clean your RV roof. This is important so that the RV sealant can properly adhere to the surface. Start by sweeping or vacuuming the roof to remove any loose debris. Then, use an RV roof cleaner to thoroughly clean the surface. Rinse the roof with water and let it dry completely before moving on to the next step.

Step 2: Identify the areas that need sealing

Take a walk around your RV roof and inspect it closely for any areas that need sealing. This could include seams, vents, skylights, or any other areas where water might be able to get in.

Step 3: Apply the RV sealant

Choose an RV sealant product that you trust and follow the instructions provided by the manufacturer. You can use a putty knife or a caulking gun to apply the sealant to the areas that need sealing. Make sure you apply the sealant evenly and cover all the areas that need to be sealed.

Step 4: Smooth out the sealant

Once the sealant is applied, use a brush or a caulking smoothing tool to smooth it out and create a uniform seal. This will help to ensure that there are no gaps or spaces where water could seep in.

Step 5: Let it dry

It's important to let the RV sealant dry completely before exposing it to any water or weather conditions. This can take anywhere from a few hours to a few days.

That's it! By following these simple steps, you can ensure that your RV roof is properly sealed and protected from the elements. Remember to regularly check your RV roof for any signs of damage or wear and tear, and reapply RV sealant as needed to keep your RV in top condition.

Multimedia collage

RV Roof Sealant - Liquid Rubber
Sale

Why Tough Tech Coatings

At Tough Tech Coatings we have manufactured roof coatings for over 44 years.  We are the industry standard for synthetic and waterbase rubber coatings. Our proprietary technology has allowed Tough Tech to rise above the rest of roofing coating systems. 

Our promise to our customers is we will provide the best products and service to the roofing industry with a 100% satisfaction guarantee. We have designed our coatings to be the longest lasting, the most durable, and will out last even the harshest conditions.

Shop Now