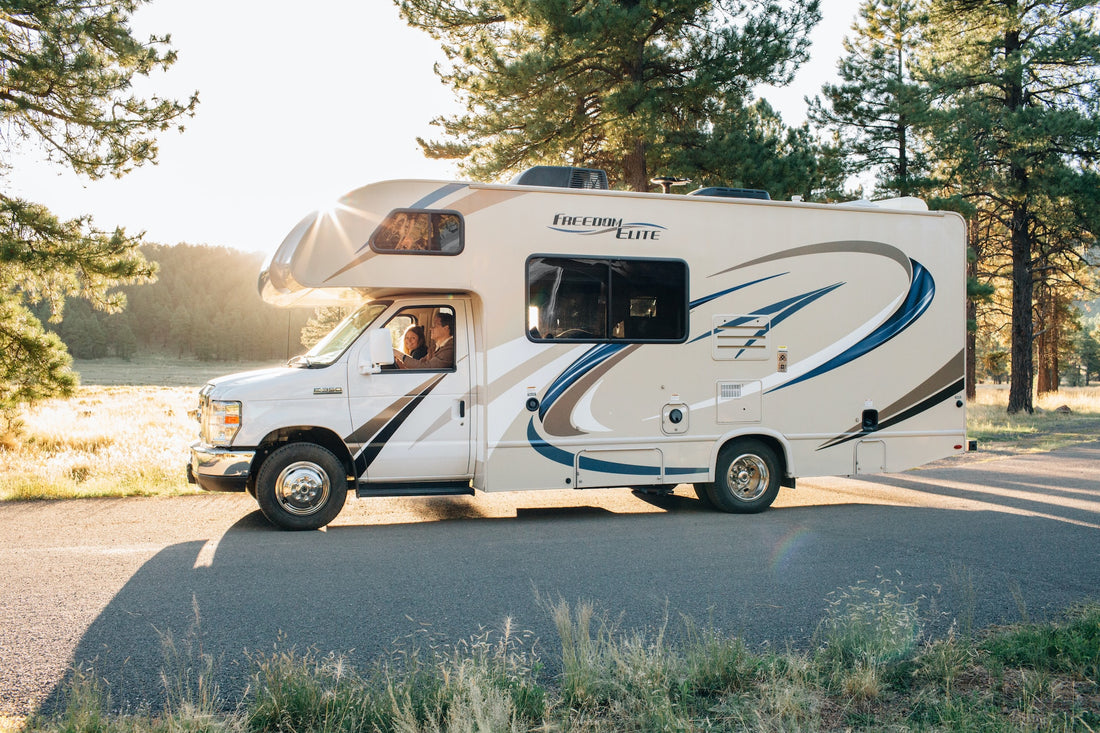
Owning an RV provides a sense of freedom and adventure, allowing you to explore the open road and create unforgettable memories. However, one common issue that can dampen your spirits is a leaking RV roof.
Repairing RV roof leaks is essential to maintaining your RV's overall health and ensuring a comfortable and safe journey. In this article, we'll guide you through identifying and fixing leaks in your RV, as well as sharing preventive measures to keep your roof watertight for years to come.
1. Identifying Leaks in Your RV
Visual Inspection
The first step in repairing RV roof leaks is identifying the source of the problem. Begin by conducting a thorough visual inspection of your RV's exterior.
Keep an eye out for any signs of damage, such as cracks, tears, or punctures, particularly around seams and joints. In addition, check for any discoloration or staining on the roof or sidewalls, as these can be signs of water infiltration.
Water Test
If you suspect a leak but can't pinpoint its location, try performing a water test. Spray water along the roof's edges, seams, and any suspected areas using a garden hose, and have someone inside the RV watch for any water entering the interior.
This method can help you identify the exact location of the leak, making it easier to address the problem.
Interior Inspection
Leaks can sometimes be more evident from the interior of your RV. Check for any signs of water damage, such as stains, mold, or mildew on the ceiling, walls, and around windows. Soft spots in the flooring can also indicate water damage, which may result from a roof leak.
2. Repairing RV Roof Leaks
Clean the Affected Area
After determining the origin of the leak, ensure that the impacted region is properly cleaned. Use a mild detergent and water to remove dirt, debris, mold, or mildew. Rinse well and allow the area to dry completely before proceeding to the next step.
Apply RV Roof Sealant
RV roof sealant is a crucial tool in repairing RV roof leaks. Choose a high-quality sealant designed specifically for RV roofs and follow the manufacturer's instructions for application.
Typically, you'll need to apply a generous layer of sealant over the damaged area, extending at least an inch beyond the edges of the leak. Be sure to put the sealant on a completely dry surface to ensure proper adhesion.
Patching Material (if necessary)
In some cases, the damage to your RV roof may require patching material in addition to the sealant. This is especially true for larger tears, punctures, or severely damaged areas.
Select a compatible patching material for your specific roof type and follow the manufacturer's instructions for application.
Inspect and Maintain
After repairing the leak, regularly inspect the repaired area and the rest of your RV roof for any signs of further damage or wear. Regular maintenance is key to preventing future leaks and ensuring the longevity of your RV roof.
Conclusion
Having an RV is a fantastic way to enjoy independence and discovery, but a leaky roof can rapidly dampen your journey. By following the steps outlined in this article, you can identify and repair any leaks in your RV roof, as well as take preventive measures to keep your roof in top shape for many years.
Remember to conduct regular inspections and maintenance to catch any potential issues early and ensure a comfortable and safe journey on the open road. Don't let a leaking RV roof ruin your adventure – take action today and keep your RV watertight!
Shield your recreational vehicle with Tough Tech Coatings' RV roof sealant — the ultimate answer for long-lasting and dependable RV roofing. If you're fed up with constantly stressing over leaks and damage to your RV roof, and you want to enhance its protection against harsh weather conditions, then look no further.
This is the solution you've been searching for! Explore our products and start shopping now!

